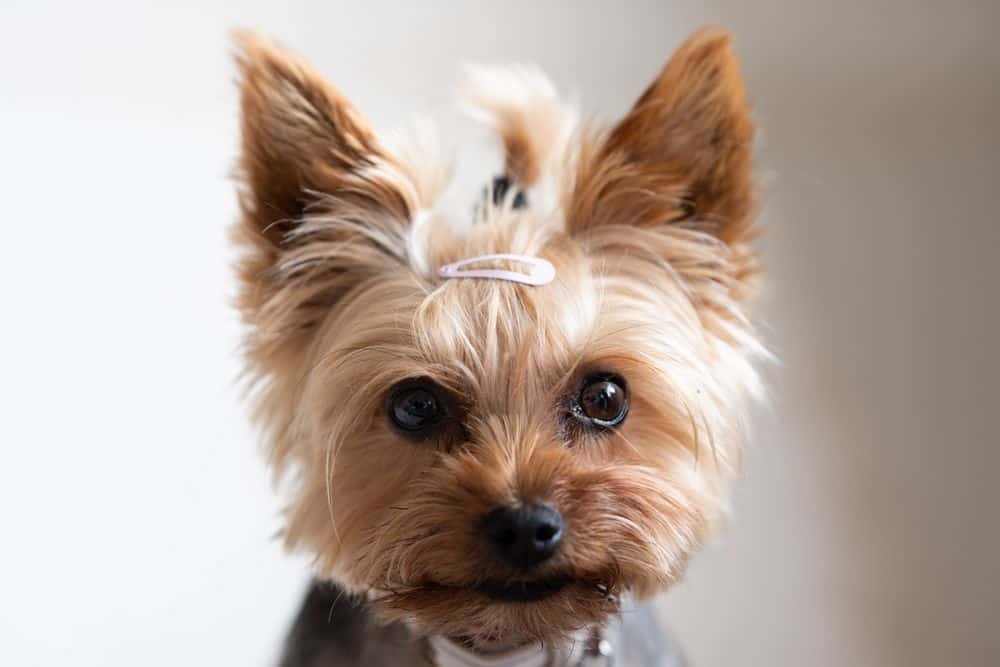
Those pert little erect ears we are all used to seeing don’t come about until the age of 3 to 6 months.
But not always.
Some Yorkie ears don’t stand up on their own.
When that happens, you can just accept it, or you can try to help the ears along.
Taping them is the best way to do that. But it does not always work.
If you want to try taping your Yorkie’s ears, keep reading for step-by-step instructions. They will guide you through the process, to ensure you do it correctly and do not harm your little puppy.
Contents
How To Tape Yorkie Ears
We will look at two different methods for taping your Yorkie’s ears, the flat method and the folded method. Both methods require the same materials.
Materials Needed
• Tape (masking, painting, or surgical)
• Scissors
Flat Method
The flat method is generally more comfortable for your Yorkie, but it restricts airflow more. This means a higher risk of an infection. The steps below take you through the process and this video can help illustrate the steps.
Step 1: Clean The Ears
Before taping your Yorkie’s ears, you need to make sure that they are clean. This is an essential step and one you can not skip. Cleaning the ears prevents any nasty infections during the taping process.
Taping reduces the airflow to the ears. This lasts for a few days. A reduced airflow means your Yorkie puppy becomes more prone to picking up an infection, especially if bacteria are already lurking in the ears.
You may also want to think about trimming your Yorkie’s fur around the ears. This will not only make the ears cleaner but also lighter. Excess fur can weigh down the ears which may also hinder the taping process.
Step 2: Create The Triangles
Cut a piece of tape roughly three inches long and layer it up with more tape until it is three or four layers thick. I would recommend either using masking or painting tape for this, or if your Yorkie has sensitive skin, using surgical tape, so as not to irritate its ears.
If the tape irritates your Yorkie’s ears, then the entire process becomes incredibly uncomfortable. It also means that your pup may be more reluctant to repeat the process, if the taping doesn’t work the first time round.

Next, cut two small triangles from this tape. They need to be small enough to fit into the inside tips of your Yorkie’s ears. These triangle tips will work to stiffen your puppy’s ears.
Step 3: Insert Triangles
Now you need to insert these triangles. Try to keep any hair out of the way when putting them into the ears. Also, make sure you don’t cover the ear canals. Otherwise, your Yorkie is going to have a tough time hearing anything for the next few days!
Once you have inserted the triangles into the ears, you can grab some tape and fold it around the triangles to help them stay in place. You’re also going to want to make sure the ears don’t bend or move toward each other, because this can give you the wrong results.
Step 4: Leave For A Few Days
Leave the taped ears for three to five days. If you notice that the ears are still floppy after removing the tape, give them a 24 hour break, before repeating the process again.
Folded Method
The folded method allows for more airflow through the taped ears, which reduces the risk of infection. But this method can be more uncomfortable for your pup. Follow the steps below and watch this video for some additional guidance.
Step 1: Clean The Ears
Just like with the first method, you want to start this one by cleaning your Yorkie’s ears, too. It’s important that they’re free from any bacteria that can cause infections.
You also want to trim away the hair, so there’s less weight on the ears. Read our article on grooming Yorkie ears for help.
Step 2: Fold The Ears
To begin, you need to fold the ears lengthwise slightly. This will help them to stand up on their own. You can put a short piece of tape on the inside of the ear to help.
Next, fold the ears into a taco shape. The tips need to stick up at the end and be in the center. Make sure not to fold the ears too tight, or to crease them, because this can make the taping uncomfortable.
As mentioned, the folded method allows allow more airflow into the ears, but your Yorkie may find it more uncomfortable than the flat method.

To try and avoid any discomfort, make sure you’re gentle with the ears and avoid putting them into an unnatural position. You should be able to tell by your Yorkie’s reaction if it finds this method of taping particularly uncomfortable. If that is the case, consider switching to the flat method.
Step 3: Tape
Once the ears are in place, wrap a longer piece of tape around them so that they stay put. The tape should be about the length of a pen, so that it wraps over itself and sticks to itself.
Step 4: Leave For A Few Days
Leave the tape in place for three to five days. As before, if you notice that your puppy’s ears are still floppy upon removal of the tape, repeat the process after a 24 hour break. Here is a video illustrating this method.
At What Age Should I Tape My Yorkie’s Ears?

You should wait until your puppy is at least four months old, before you begin taping its ears. However, it is better to wait until six months, because your puppy still goes through some major developments this early on.
Your dog’s ears may begin to stick up on their own between 4 and 6 months. Some dogs are such late bloomers that their ears may not start to prop up until they reach nine months of age!
That said, if your dog’s ears are still floppy after 6 months, go ahead and follow the instructions above to tape them. Hopefully this will help them to stick up.
Taping Yorkie Puppy Ears: Does It Work?
Taping is not 100% guaranteed to work. It varies from dog to dog. Many pet owners have been successful with taping their puppy’s ears, but other dogs’ ears simply don’t want to cooperate.
It is usually genetics that decides if your puppy’s ears will stand up. If you have tried taping for a month and still have not seen any results, then it may be best to accept that your Yorkie puppy just has floppy ears.
Why Don’t My Yorkie’s Ears Stand Up?

Yorkies are born with floppy ears and it is not until they start developing that their ears start to become erect. This usually happens between three to six months. However, if your Yorkie has now reached this age and its ears are still floppy, you are probably wondering why.
As mentioned, it is due to genetics, if your Yorkie’s ears don’t stand up. If your Yorkie’s parents had floppy ears, then chances are that your Yorkie will as well.
You can tape your puppy’s ears to try and fix any floppiness. Or, if you’re happy with how your puppy’s ears are, then you can just leave them. And if taping does not work, acceptance is your only option anyway. Floppy ears don’t affect the health or hearing of your Yorkie.
Read our article “When Do Yorkies’ Ears Stand Up?” for more on this.
Taping Yorkie Ears: Conclusion
The standard for Yorkies is a set of pert, upright ears. But if your Yorkshire terrier has floppy ears, that is no problem. It does not affect your dog negatively in any way.
However, if you want your puppy to have upright ears and they just don’t seem to be standing up on their own, taping them to help them along is an acceptable solution. If you follow our instructions and do it right, it will not cause your puppy any pain.
In many cases, taping Yorkie ears helps them finally stand up. But not in all cases. Some Yorkies are just destined to have floppy ears.
If that is the case with your puppy, know that there is no shame in having floppy ears. Accept those ears and and love your little Yorkie every bit as much!
Katy says
My pup is now almost a year and a half . Is it too late to try?
Mike Kelsen says
You can try, but it is probably too late. Sounds like you just have a floppy-eared puppy on your hands.